The Curious Case of How to Hand Dye Wooden Eggs
A few weeks ago I had the random urge to try dyeing eggs - except I really wanted to dye wooden eggs as 1. I wanted to avoid the time & mess of cleaning out real eggs & 2. I prefer the idea of them being reusable for future years. Cue me looking into this concept on Google & discovering there’s very little helpful information about dyeing wooden eggs, so I figured there may be some interest in sharing what I learned in my experiments! To all those as curious as I was, here was how I went about it.
The quick version is that I opted to use fabric dye as my choice of pigment, as I wanted the eggs to get a lot of saturated color in a quick burst of time so as best to avoid any chance of mold developing on the wood from sitting in the water for too long. But if you’re here to read the step-by-step process, let’s get down to it, shall we?
Supplies you’ll need:
Some of the links to the supplies are Amazon affiliate links, which means I might make a commission on qualifying purchases. Thanks so much for understanding & supporting me & my work.
unfinished wooden eggs - I used three different types of eggs. The more angular egg shape set came from the Target dollar spot, but the other two sets I ordered on Amazon & liked both! This was the first set I used which comes as a set of 24. This was the second set I used which comes as a set of 15
fabric dye - I used Rit’s All Purpose Liquid Dye. I made color combinations using the following base colors: Purple, Royal Blue, Aquamarine, Kelly Green, Lemon Yellow, Sunshine Orange, Petal Pink, & Fuchsia
measuring spoons - cheap ones that will not be used for food purposes. I used a set that I picked up from the Target dollar spot. This set is very similar to what I used & also how much I spent on mine
bowls for mixing each color - again use bowls or containers that are not intended for food purposes. I have this set of glass mixing bowls I got from Target that I only use for crafting
gloves - to prevent your hand from also being dyed ;) I use these reusable ones for all my messy crafting fun
wire rack - for the eggs to dry on after dyeing. It should be one you don’t intend to use for cooking/food. I used one similar in size & cost to this one
1 cup measuring cup - can be food safe as it will only be pouring hot water
something to protect your table with - I used this plastic tablecloth I found at Target & plan to reuse for super messy crafts
paper towels or old towels/shop rags you don’t mind getting dye on
scrap pieces of white paper (or even pieces of paper towel) for testing colors
medium sized pot to boil water
STEP 1: I had 6 bowls to work with, so I boiled a little more than 6 cups of water. This is totally optional, but after boiling, I transferred the water to a mixing bowl so that I could take it into my studio.
STEP 2: Now it’s time to play with color! Using your measuring cup, pour 1 cup of hot water into a bowl & then mix your color using the measuring spoons & your dye.
In general, the ratios I used varied between using 1/4 teaspoon, 1/2 teaspoon, & 1 teaspoon measuring spoons - all sort of by feel of how saturated I felt a color would be diluted in water (for instance: when I used lemon yellow or aquamarine in a formula, I felt like I needed to add a higher amount of dye). Just remember that less dye will equal a slightly less saturated dye solution, so you can always add more later if needed.
Keep reading if you’d like some color mixing formula suggestions based on my own experience!
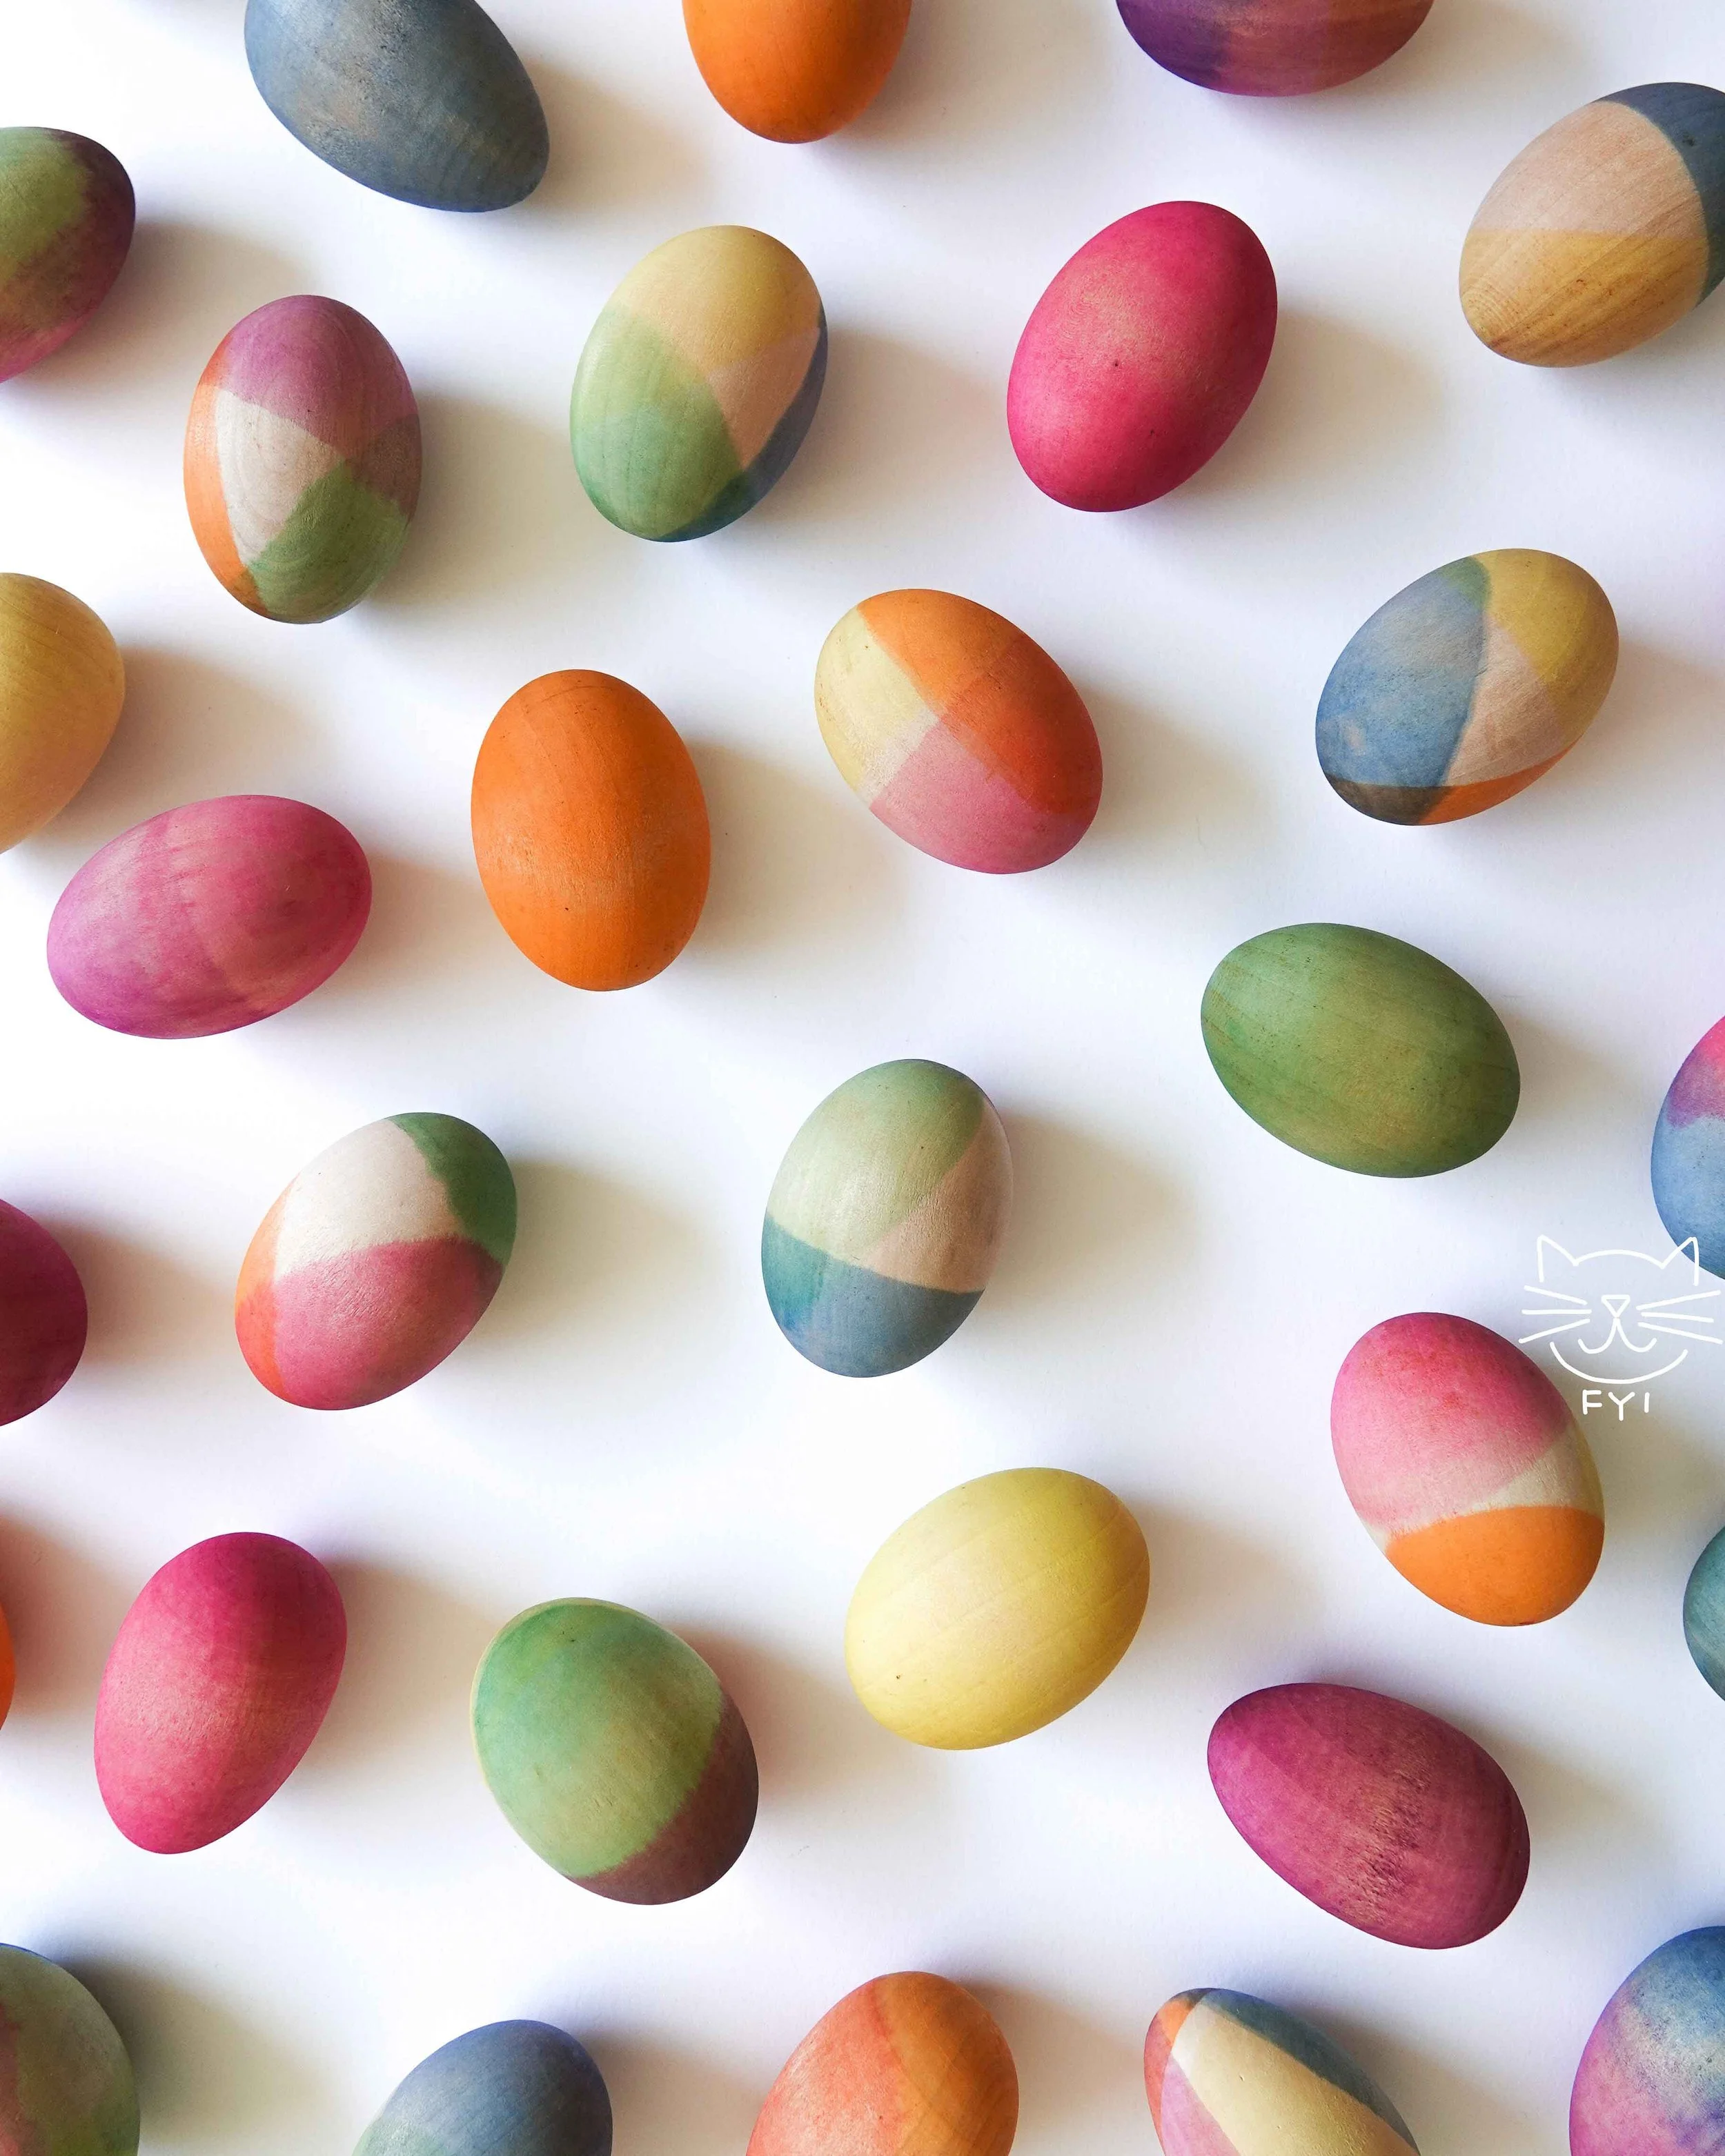
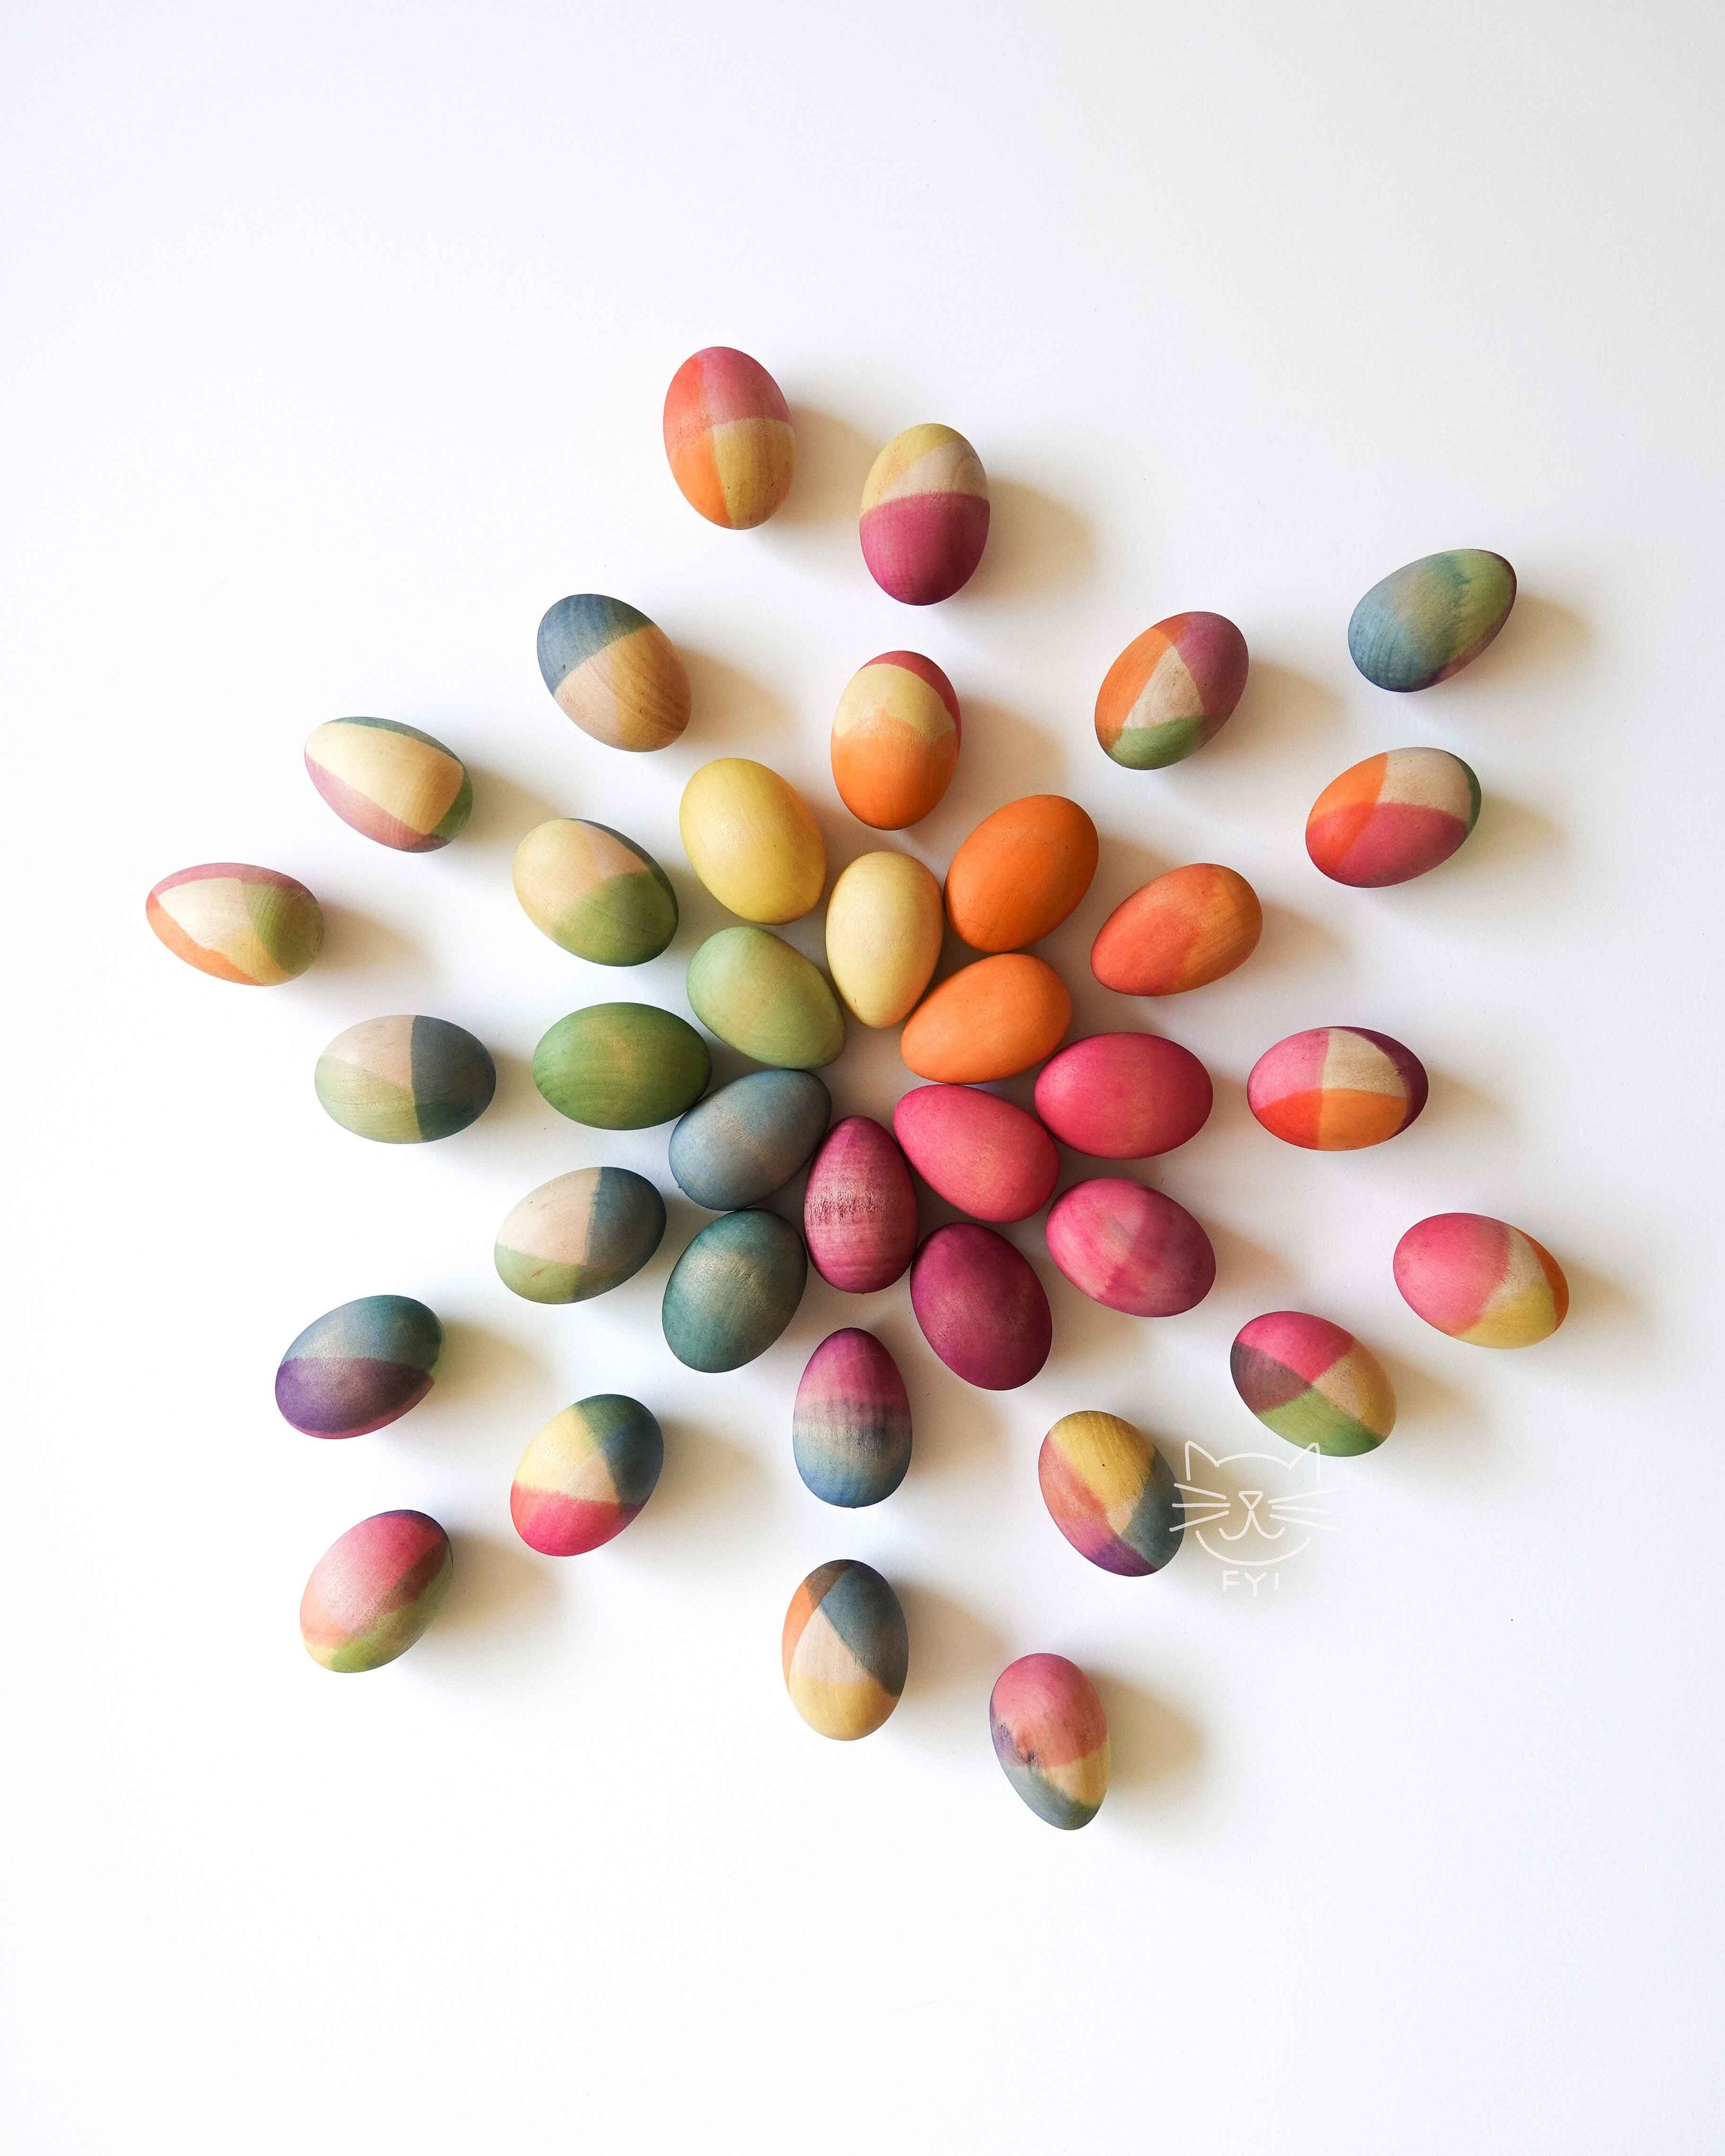
I actually made two different batches of eggs, & therefore had twice the opportunities to play with color :) in the first batch (pictured above), here’s loosely how I made those colors:
purple-pink: 2 parts petal pink, 1 part aquamarine, 1 part purple
blue: 2 parts aquamarine, 1 part royal blue
green: 2 parts kelly green, 1 part lemon yellow
yellow: 3 teaspoons of lemon yellow
orange: 1 teaspoon of sunshine orange
pink: 1 teaspoon of fuchsia
For the second batch, I was a bit more adventurous in my color mixing & even made test swatches before dyeing the eggs (see first photo above), & I loved how they came out! However, as proof that things don’t always turn out the way you’d expect in the creative process, the blue from the paper test swatch did not predict how it would react on a wooden egg (see the bottom egg in the above photo), so it was back to the drawing board for that color!
Once I settled on a darker shade of blue, this was loosely how the final color formulas for the second batch of eggs came out:
lavender: 3 parts petal pink, 1 part purple
sapphire blue: 6 parts aquamarine, 1 part purple, 1 part royal blue
mint green: 3 parts aquamarine, 1 part kelly green
spring green: 4 parts lemon yellow, 1 part kelly green
golden yellow: 3 parts lemon yellow, 1 part sunshine orange
coral: 2 parts fuchsia, 1 part sunshine orange
STEP 3: Now that you’re happy with your colors, it’s time to actually dye the eggs! If you aren’t already wearing them, it’s time to put on your gloves. Take an egg & partially dip it into one of your colors at some sort of an angle or even halfway & then hold it still in that spot for about 20-30 seconds.
Be sure not to hold your egg too close to the sides of the container as it can cause an unwanted smudge in your dye lines. That being said, you will probably experience your lines not always staying clean/crisp & that’s because the natural wood grain of the egg will not behave in the same way paper does - it just adds to the unique handmade nature of each egg!
If you would like to dye an egg a solid color, you can let it float in the dye solution for the same amount of time but make sure you rotate it regularly during those 20-30 seconds to allow for an even color saturation :)
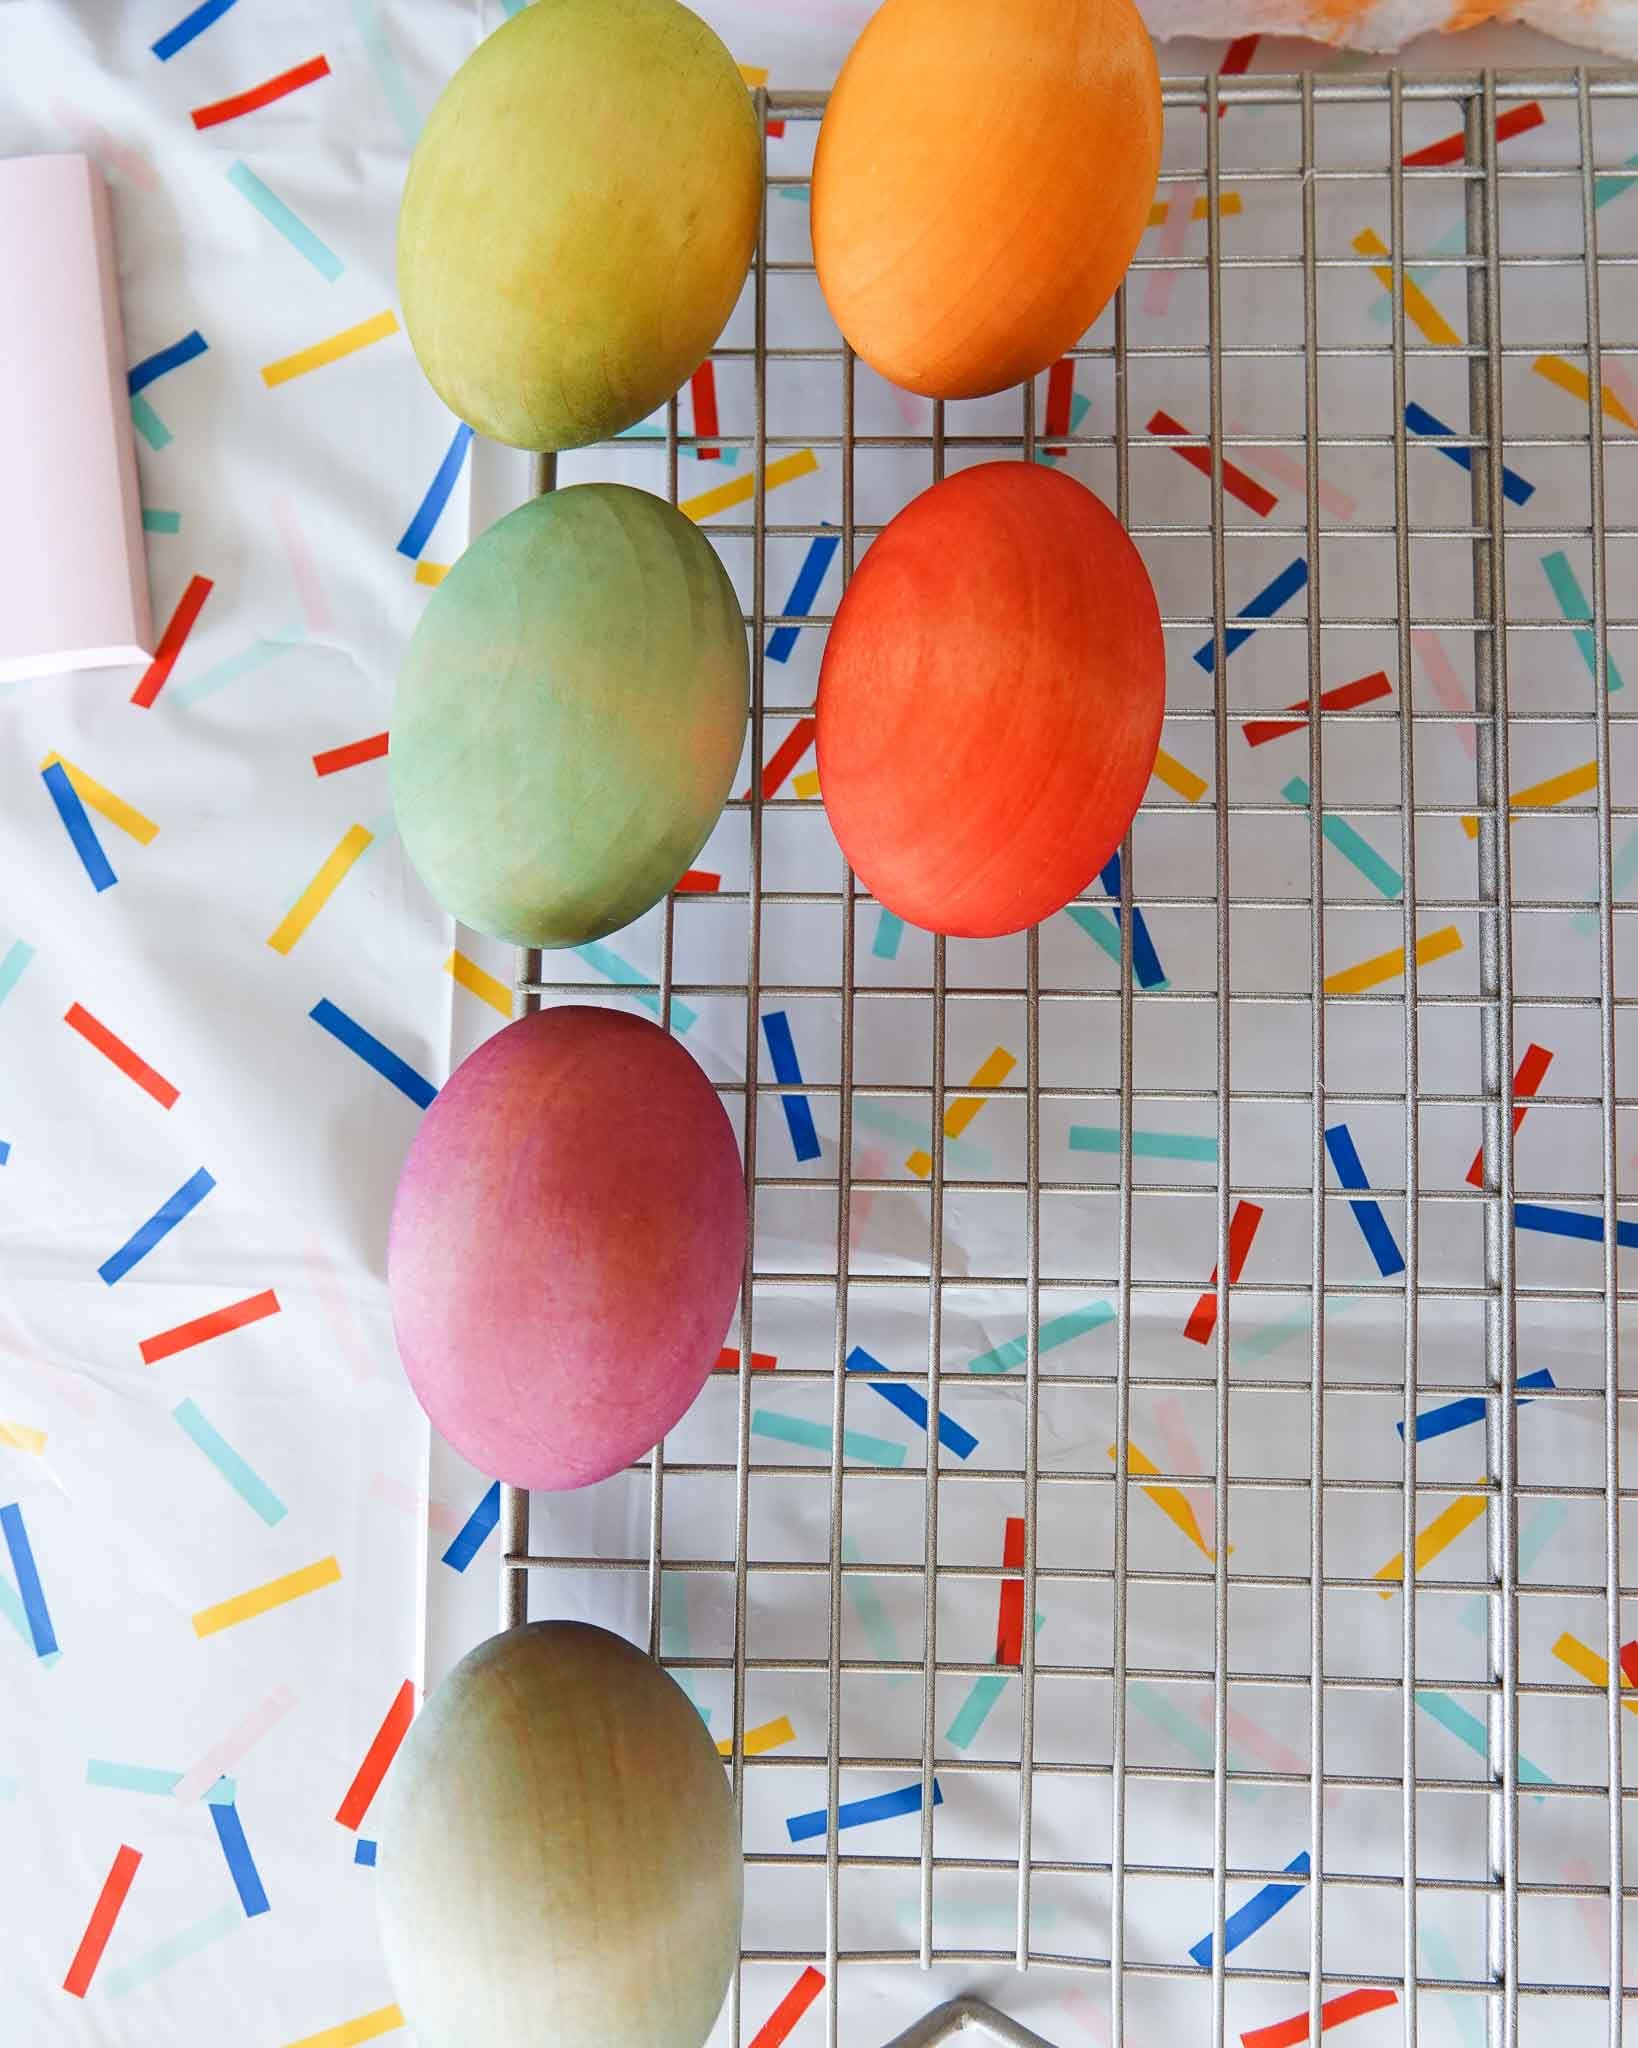
STEP 4: Once the time is up, pull your egg out of the dye solution, blot the excess liquid on a paper towel, & lay to dry on your wire rack. It may feel like you wipe off a lot of your color, but it’s deceptive! In reality, your eggs will most likely dry more saturated/vibrant than what they look like coming right out of the dye solution (this was especially true for the blue colors for me).
You can also reuse paper towels for this step. I think I used the same 6 or so half sheets for both egg batches - the color on the paper towel should not transfer to an egg, but once one was too damp to remove excess dye water, I left that towel to dry & I used a different one.
STEP 5: Continue to dip dye your eggs into different colors & at different angles to your heart’s content! Once you have dyed all of your eggs, leave them to dry completely overnight.
There are truly so many endless options & palettes to choose from in this craft that I hope you’ll give it a try, & if you do I would love to see how they come out — please tag me on instagram @kat.fyi with your finished creations!


